How to Correct Colour in Adobe Premiere Pro
Four-Minute Tutorial: How to correct colour in Premiere Pro
Colour correction is an important part of video production. A few simple colour adjustments can make all the difference and make video images really pop. In this short tutorial we look at the basic colour correcting techniques available in Adobe Premiere Pro.
In this short tutorial we’ll be looking at doing some basic colour correction in Adobe Premiere Pro.
Lumetri Scopes
I have a sequence with a couple of images. They’re a little bit flat, slightly underexposed, so let’s have a look at the adjustments that we can do to make these images slightly more poppy. We’ll want to go into the colour workspace and we want to select the Lumetri Scopes. Here I’m just going to go into the settings for the scopes and I’m going to start with the waveform monitor.
The waveform is a representation of colour and tone over a scale of zero to a hundred, with 0 being your dark pixels and 100 being your lightest pixels. We’ll want to do an adjustment here to try and expand that range. In the Lumetri Scope – under the basic correction tab – we can start with just doing a basic exposure adjustment just to push the range up.
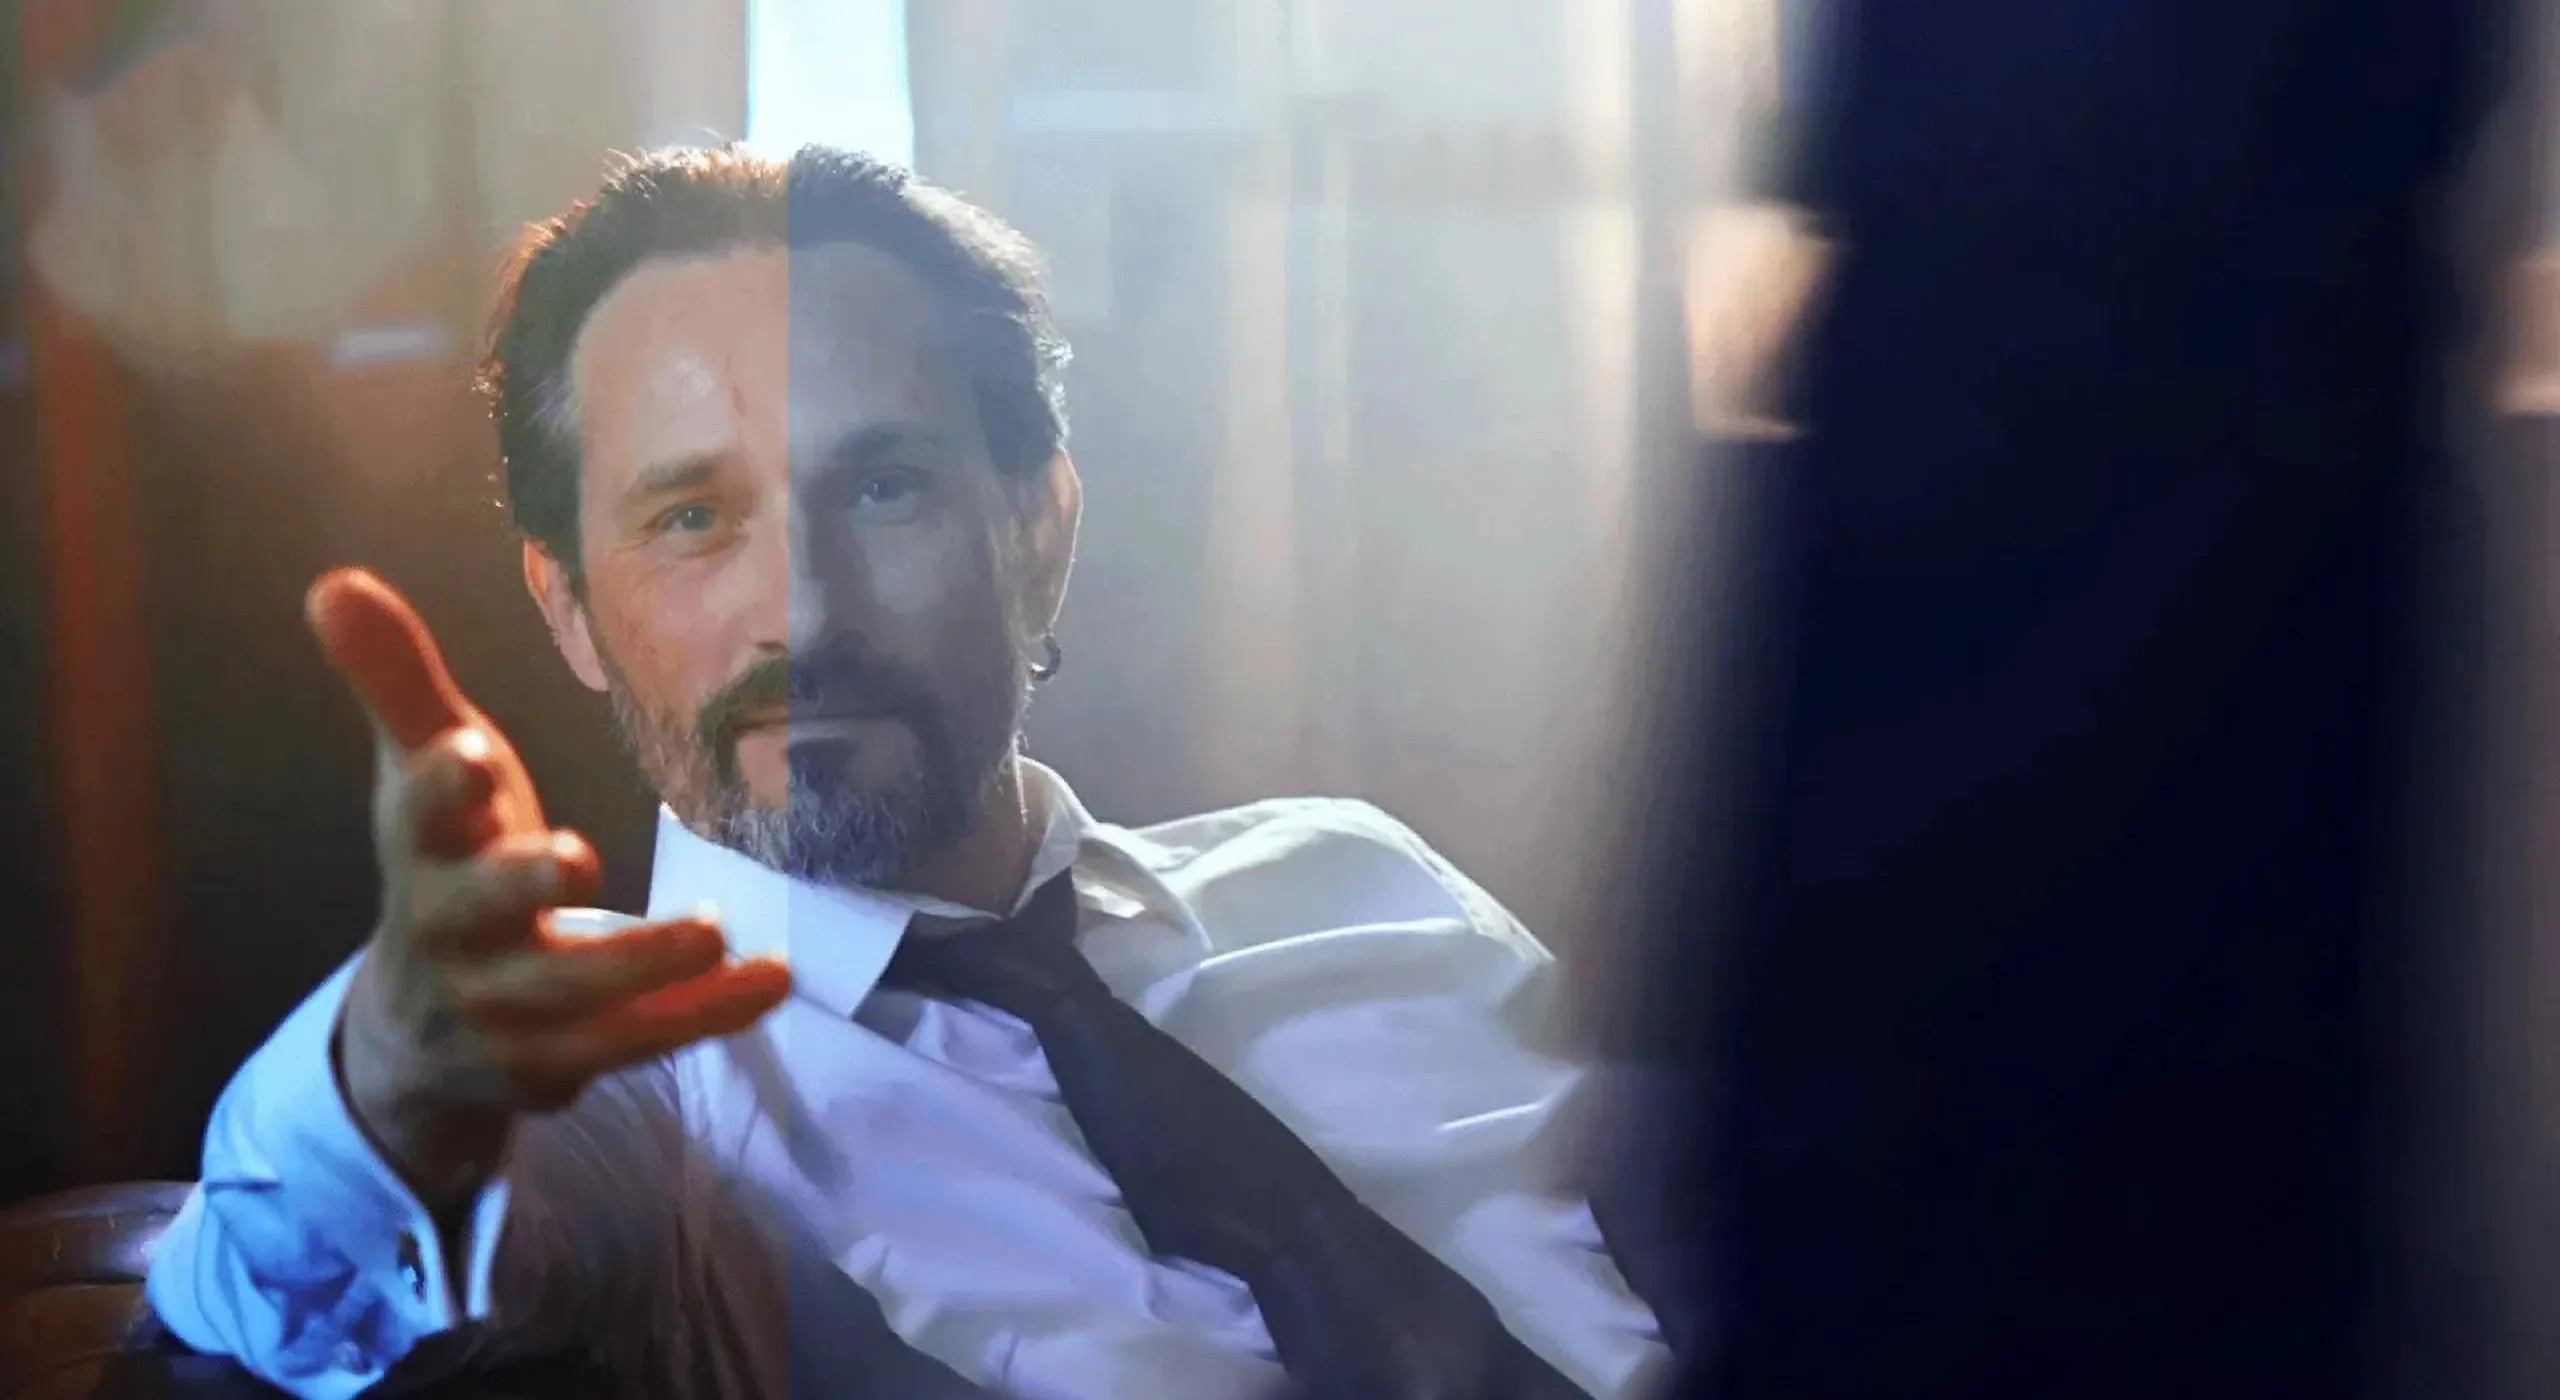
I also want to have some information further down the image so I’m going to take the blacks down. If I want more detail in the shadows I can just push some of those mid-ranges to make them a little bit darker. Let’s have a look. Notice the difference in the before and after image.
Hue Saturation Curves
Next I’m going to go into Curves. Here I’m just going to add a bit of contrast, so I’m going to push the light parts up a bit and the dark parts down a bit. Then we also have these Hue Saturation Curves. I’m going to select the Vectorscope YUV and turn off the waveform. The Vectorscope is the colour values and the saturation, so the more saturated the colour the more we expect it to go towards this outer radius. Let’s have a look at what we can do.
With the Hue Saturation Curves we can do adjustments based on a colour value or a range of colour values. I’m going to use the eyedropper. I’m going to select this blue from the four-wheeler there and it’s given me three points, so if I take this middle point down I’m desaturating. I’ll just make this quite extreme you can see that I’m desaturating the blue and if I take it up I’m adding more saturation to that colour. I’m just going to just take these out a little bit to give me a bit more range in that colour.
Hue Versus Hue
With Hue versus Hue we can change the colour of that blue, so I can select it again and if I take this up you can see that I’m sliding it now towards the green values and if I take it down I’m sliding it more towards the purple value. So maybe this sort of green looks quite nice.
Hue Versus Luminance
Then we’ve got the Hue versus Luminance value. This is about the brightness of the colour that we select. If I take the slider a point up we’re adding brightness to that colour – that’s quite extreme – and here we’re darkening it, so i’m just going to push it up just a little bit. There and let’s have a look at the before and after view. I’m going to go back into the editing workspace inside the effects control. So here is the Lumetri effect applied when we go into the colour workspace. If I turn that off, that’s the original image, and that’s the reworked image. It’s a much nicer image.
Conclusion
There you have some basic colour correction techniques in Premiere Pro.
Looking for comprehensive Adobe Premiere Pro training? Find our publicly scheduled course details here: Introduction to Adobe Premiere Pro course.
Do you prefer private, bespoke training? If so contact us about private Premiere Pro training.
Subscribe to the Platform Training YouTube Channel for more videos.